Wednesday, September 29, 2010

a little blue


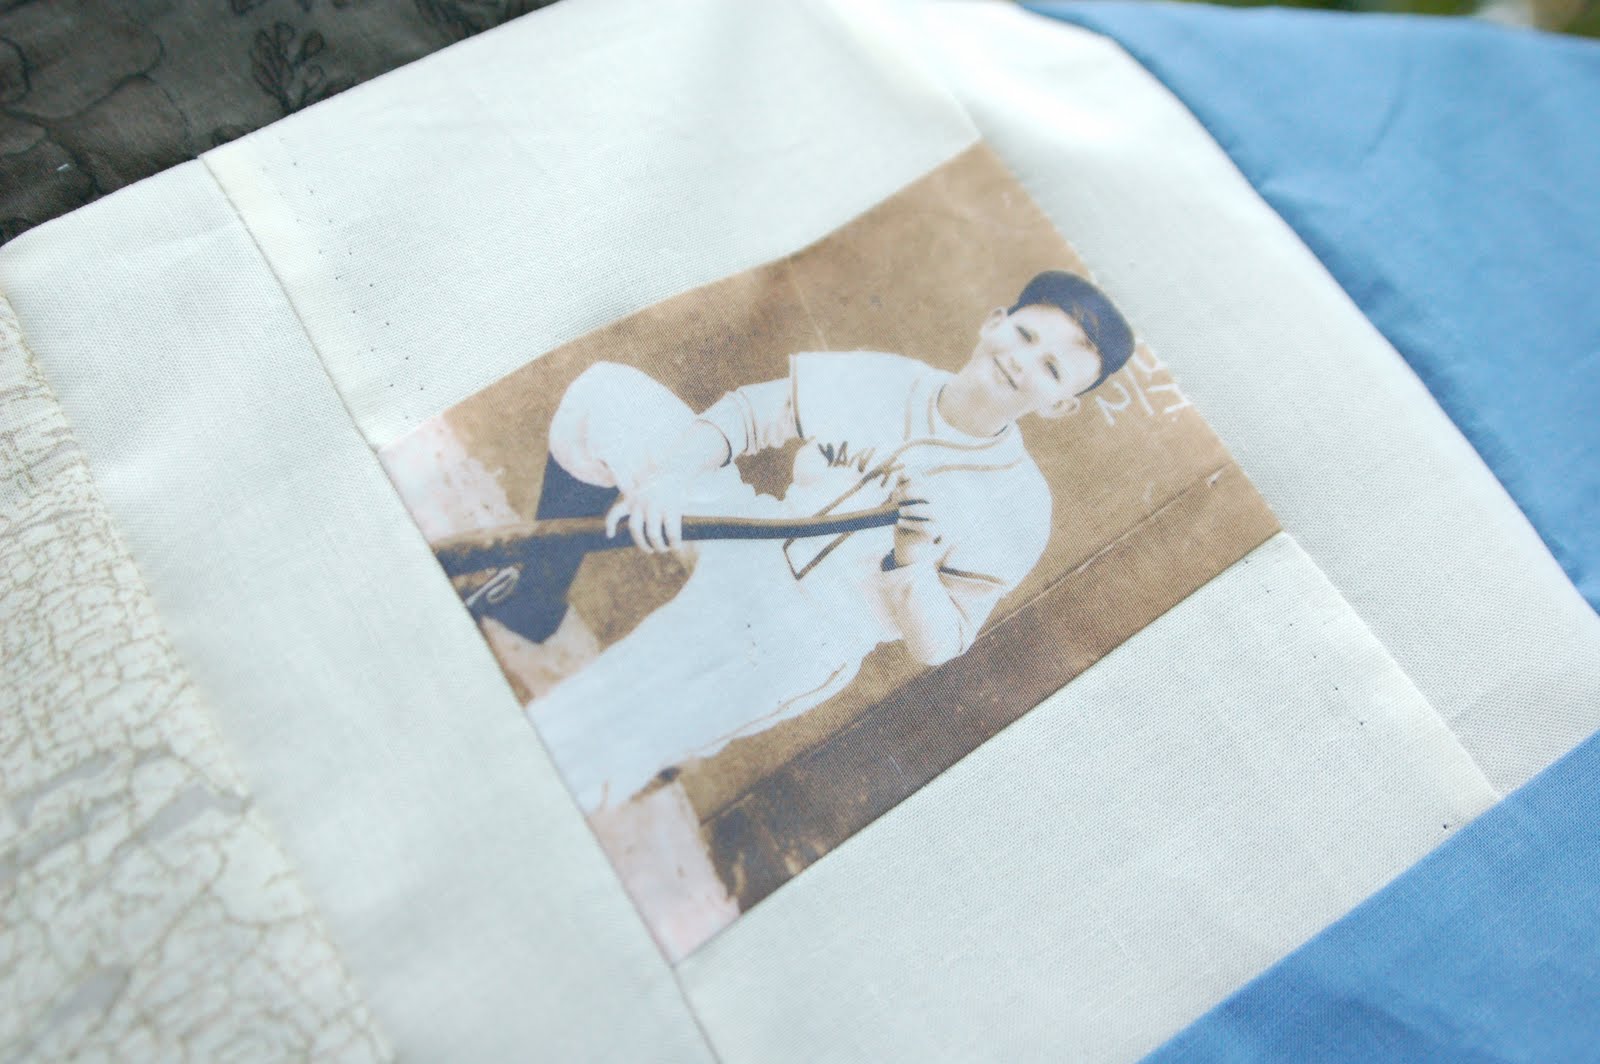
Onto my next quilt! it's for my mother in law for Christmas. She LOVES blue. She collects old cobalt blue dishes & serving pieces and glassware. Blue is her signature color. Her Mom/my husband's grandmother gave me a tub of vintage fabrics. It mostly contained scrap pieces, some 2" X 2", some as much as a fat quarter. Come to find out most of it was HER mother's fabric stash, so my husband's GREAT grandmother. Genealogy is also a big hobby in the family, Dee- my Mother in Law flew to Norway this past summer to do some family research if that tells you anything about how much of a hobby it is! So obviously the importance of family heirlooms runs high on her list, I thought I would use all the varying shades of blue scraps belonging to her mother & grandmother & make them into a quilt for her.
My one catch is not having enough fabric to do the binding, and I'm pretty set on using navy blue with white polka dots. So now I'm on the search for true VINTAGE navy with white polka dots. Shouldn't be too hard to find hopefully!

I'm also considering backing the quilt with flannel, which makes me nervous..I've never quilted with flannel. Does anyone have any tips or suggestions? Should I not be concerned? I haven't decided if I want the quilting to be stippled or stitch in the ditch quite yet... decisions, decisions!

Tuesday, September 28, 2010

Fall Decor


Here's a NO SEW project I did yesterday during naptime! I should have taken pictures of what I did, but honestly I wasn't sure how it'd turn out!

Materials I used:
a straw wreath left in the packaging
burlap cut into 2" strips (1/2 yard or so)
straight pins
aubergine cotton fabric
1 stem of silk leaves/berries
1 stem of fall mums
1 cut of upholstery fabric cut into 3" wide X 25" long strip
hot glue
scissors/rotary cutter

First I cut the burlap into strips & wrapped the wreath in the burlap & pinned in place.
Next I took my long strips of burlap & starting at the top made loops trailing down. I think I used 4 or 5 strips of burlap for the portion of the wreath I did. Frayed edges look really great- so don't bother on making clean cuts.
Hot glue the silk leaves & berries in.
Cut out leaf shapes with the deep purple fabric. Imperfection is key here ;) It gives it a more rustic look. Glue them in with the leaves & berries.
Glue in your 3 flowers.
Make a bow & attach to the top of your wreath!


I'm pretty happy with how it turned out! Love this fall weather we're having, it makes me want to decorate!

Monday, September 27, 2010

The Pong Quilt Tutorial


I made my oldest son a nap time quilt this past week. It was a fairly quick & easy quilt and a scrapbuster quilt too! I love finishing off bits of fabric....just so I can go fabric shopping again :) That's my favorite part!

So why is it called the Pong quilt? My husband said it reminded him of The Atari game- PONG. I thought it ended up looking like a graph chart...my oldest pointed out the letter "i". So maybe it's a graph chart quilt. or a 'dot the i' chart. or the pong quilt. Or a route 44 quilt. that was my magic number in figuring out the math. Ha! Either way, I love the colors & my oldest now asks for it at nap time. I'll do anything for him to continue taking naps!

Here is how I made it:
The finished quilt came out to 43" X 60"

8 X 4" strips of varying colors (I liked the solids for boys) by 44" long. I used 2 fabrics twice.
3 yards of a solid fabric (62" for the back & 9 strips of 4" X 44" for the front)
1/2 yard of contrasting fabric for binding
1 3/4 yard of batting

First I cut my contrasting colors of fabric into 4" strips X 44".

Then same with the solid grey (this ended up being 9 cuts 4" X 44"). Oh how I love Kona Cotton.

Next, I didn't want stripes all the way across the quilt, so I cut 4" X 4" blocks out of each colored strip & separated the square & strip by grey fabric.

Here's my math on each strip:
Red dots: 4" X 7" strip, 4" X 4" square -> which means I needed a 33" strip of solid grey to make 44"
Stripes: 4" X 25" strip, 4" X 4" square -> which means I needed a 15" strip of solid grey to make 44"
Navy Blue: 4" X 11" strip, 4" X 4" square -> means I needed a 29" strip of solid grey to make 44"
Green: 4" X 36" strip, 4" X 4" square -> means I needed a 4" strip of solid grey to make 44"
Red dots: 4" X 28" strip, 4" X 4" square -> means I needed a 12" strip of solid grey to make 44"
Orange: 4" X 32" strip, 4" X 4" square -> means I needed 8" strip of solid grey to make 44"
Multi colored dots: 4" X 18.5" strip, 4" X 4" square -> means I needed a 21.5" strip of solid grey to make 44"
Navy Blue: 4" X 10" strip, 4" X 4" square -> means I needed a 30" strip of solid grey to make 44"

I first pieced each individual strip. Square, Grey Strip, solid strip.

Then pieced accordingly with a solid grey strip between each colored/grey strip combo.
The front was a pretty easy, quilt front to put together. The backing was solid grey & I quilted it with my walking foot in long strips about 3/4" apart.

Dad's quilt finished!


I finished my Dad's quilt last week & it looks great! He was absolutely thrilled with it. I gave it to him Saturday at the family birthday party & he loves it! Funny thing, he actually doesn't want to use it, but wants to hang it up in his place in California.

I surprisingly finished 2 quilts last week, so this last friday night I took the family & we went for a mini photo shoot with the quilts. Just so I could get them photographed in all their glory :) There is a great historical area close to our house with train tracks & a vintage train. Of course my 2 little boys always enjoy it!


Happy 60th Birthday Dad!!!


Tuesday, September 21, 2010

Don't throw away those scraps!

I always keep my scraps of fabric. To me scraps of fabric means 5" or larger. I can always find a use for them eventually. But what about batting scraps? I always end up with odd size pieces after a quilt & a lot of times I'll throw them away thinking they're too small to even get a playmat or crib quilt out of it. Well not anymore! I'm still fairly new to quilting (only been doing this for just over a year) and I'm what I would say self taught or internet taught (haha!) so maybe a technique like this has already been done, however I'm pretty proud of myself for being so thrifty! I definitely can't take credit for this idea as I know it's been done before.

A few weeks back at our last Dallas Modern Quilt Guild meeting. The shop owner showed us a new product they had. She called it a fusible tape to help fuse batting together so you wouldn't have to overlap your batting or sew it or have any lumps & bumps in your quilt. I thought it was a great idea, but 10 yards of this fusible tape for $8-10 doesn't go very far.

SO instead I figured out my own :) I went to Joann's & bought the Pellon Ek 130 Easy Knit which is a fusible knit interfacing & underlining very light weight fabric. You can find on the rack with the wonder under & pellon fusible fabrics. So I bought a yard of it for $3.69 (I thought it would be silly to use a 40% off coupon on that, but you could to make it even cheaper!) so here's my math, which I don't trust....If I cut the yard of the Pellon easy knit into 2" thick strips, then I will have 18 cuts. The fusible fabric was 45" wide so X 18 cuts gets you 22.5 yards. SO I was pretty proud of myself for getting 22.5 yards for $3.69 instead of jumping the gun and buying the 10 yards of fusible tape for $10!! I felt pretty thrifty :)

So here is a quick tutorial on how to use your *thrifty* fusible tape.

1. lay out your fusible fabric & cut into 2" strips.


I started off with a few different size pieces- 1 piece measured about 15" wide by 65" long. The 2nd one measured 12" wide by 82" long.


2. I cut them into 3 different pieces. 2 measured 12" by 40" & the 3rd piece measured 15" by 40". I had 1 smaller piece left over perfect size for a doll quilt. I lined up 2 of the pieces on my ironing board. Don't overlap, but line them up very closely.


3. Lay your fusible fabric rough side down & smooth out with your hands.


4. Get a cloth to lay overtop & set a hot steamy iron on top to fuse the fabric down to the batting. It should only take a few seconds since the fabric is so light weight.

5. Repeat the fusing for any additional panels you have.

So I ended up with the perfect size batting panel for a crib quilt or play mat- about 40" X 40" !! And it came out of something I normally wouldn't keep :) So glad I did!

Of course...

Why is it when you have the coziest of beds for your sweet kitty- they still manage to find the unfinished quilt??


I'm ALMOST finished with my dad's quilt. I've set this tiny table aside for a garage sale this weekend & I thought for sure the cat wouldn't dare find a napping spot on a 12" X 12" tabletop. But yes, she proved me wrong!

Saturday, September 18, 2010

a wild hair...

Do you ever have one of those days? One of those days where you have what my husband calls, "a wild hair up your butt?" Yesterday 30 minutes before the kids went to bed I decided I needed to rearrange their furniture in their room.
This morning before my husband even woke up, I had rearranged the living room furniture & started on the dining room. After he left for work, I got that crazy look in my eye & walked around the house with a package of nails & my hammer. Gavin is not a fan when I get into that mode. Oh but I love it!
Do you ever redecorate your house with things in your house? I love doing that. Repurposing & reusing. Gavin should be a fan as I didn't spend a dime today! And I even packed away some items for the next garage sale. He should be thrilled when he comes home today!


I love crosses & normally have these silver crosses randomly arranged around a mirror in my entry way, but today I decided to keep them a little more contained in my dining room. Love it!

Kitchen- I bought this old buffet a few months back & will eventually repaint it, but I'm liking the color it is for now. I grabbed one of my holiday table runners (it doesn't even look christmas-y, it's just deep red with some detailing), a few pictures (which updating these will be my next project- as these are from almost 3 years ago!)

I'm not a fan of the collection of empty frames hanging on walls I've seen lately, so instead I hung one of my empty frames & hung some picture hangers like so...

added in some decorative plates I've been holding onto (used some plate hangers)...

hung a few wrought iron crosses in the frame as well...

and moved my wrought iron hanging plant over from the other wall. Must say I'm pretty pleased. except for the outdated pictures. and perhaps the lamp shade is a little too bright red. might need to change that!

Now I'm pooped & ready for a nap!

Friday, September 17, 2010

Dad's quilt progress

Normally I wouldn't post pictures of a quilt that I'm giving away as a gift, but I'm 100% sure my dad doesn't read my craft blog. So I'm safe!
My dad's 60th birthday is next weekend & my sister & I thought it would be great for him if we (read: I- although she did do a lot of work on the photos and printing off the photo fabric) made him a photo quilt celebrating his life. My progress so far:

In my block layout, I basically designed it thru the years of his life from childhood to grandpa-hood. I especially love the photos from his childhood.

I love looking at my parents wedding pictures. They were so young, and cute! This picture cracks me up every time. It looks like my sister & brother playing dress up and feeding each other cake!

My favorite picture of my dad & I dancing at my wedding.


This quilt has been a beating, it's a photo quilt & so far have spent 18 hours on it this week. yikes! I'm trying desperately to get it finished for next weekend, well I'd prefer sooner so I'm not working on it all next week too. My sister/project manager printed off the pictures onto photo paper, I set the colors, rinsed, dried then had to cut the pictures (not all had enough border around each one, so if you are ever doing a photo quilt, make sure to leave 1/2" white border around each picture for seam allowance) and then actually made a cream colored border around each picture for it to be an 8" X 8" square. phew. That was exhausting before I even got to piece it all together! Don't get me wrong, I love quilting & sewing, but when you're on a time crunch, not so much!

My next step is to add a border around the top piece with this dark brown fabric (about 4" on each side) I love love love this fabric .


I tried to keep pretty subtle colors, but still masculine designs. I'll also do a cream binding to finish it off. So lots of work ahead!

Thursday, September 16, 2010

One Happy Momma!

Earlier this week I was working on these burp cloths & come to find out a certain 3 year old moved my utility stitch chart for my sewing machine. So I went searching for one online for reference to use a few decorative stitches on the burp cloths. I finally found one, but in the process I found something that made my day!

An extension table! I ordered this Tuesday with regular shipping (which I believe was free) thru AllBrands.com and I ALREADY received it today! I am so thrilled, I might be up late quilting tonight :)


This makes me ONE HAPPY MOMMA! So happy I almost forgive my 3 year old for hiding my stitch chart!

Benn's Quilted playmat


I have a good south african friend who is having a baby soon & her baby shower is this weekend. I love the name they are giving him, instead of Ben- they are giving him the South African version which is Benn. It also means Blessed. I have seen both of my children grow into their names and have to say that this little one will too. And what a great name to grow into!

I love this little quilt- love the colors, love the design and I'm really loving the new soy blend batting I'm using. It's not as thick and fluffy as the batting I've been using for most of my quilts/playmats, but it is so soft.

I also made a handful of burpcloths (all are backed with terrycloth or flannel) in the boyish theme.


Wednesday, September 15, 2010

Inspiration for the Cancer Sucks quilt


Well I've got the 1st step finished for Mimi's "Cancer Sucks" quilt. Inspiration! Definitely the pinks, but she also just redecorated her room in creams & blues. Sara thought incorporating those would be a good idea. I'm loving the color scheme!
I'm thinking a simple quilt with 8" X 8" blocks, maybe some to incorporate some circles to carry on the "Cancer Sucks" theme.

Now for fabric and a style! Anyone want to help a quilter out? :)

Tuesday, September 14, 2010

Ticker Tape Tutorial

Say that 5 times fast!

Thought I'd do a small Doll size Ticker Tape Quilt Tutorial! This size quilt is fast and easy. I think I got it done in about 2 episodes of Project Runway (my new guilty pleasure!)


List of Items needed:
Sewing Machine (I use my walking foot for the entire quilt)
2 fat quarters (or 2 scraps of about 18" X 20" fabric)
batting measuring 18" x 20"
basting pins or basting spray- or however you baste!
Straight pins
fabric scraps
pinking shears or pinking rotary cutter
binding or fabric for binding

Directions:
1. sandwich your 2 fabrics & batting between.


2. Pin/Baste or Spray with your basting spray .

3. Quilt your sandwich. I did just a few big lines across to make a basic diamond shape.

then trim off your excess fabric & batting


4. Start at 1 corner & pin 1/3 of your fabric scraps on. I had to cut some of my fabric scraps even smaller. I generally use about 8-10 different fabric scraps (in multiple sizes so they can be used more than once, but not be placed close together) If your fabric scraps are not cut with pinking shears or a pinking rotary cutting blade, be sure to do so otherwise it will fray really badly after being washed.


5. Carefully do a simple top stitch on top of each piece. I leave about 1/4" around each edging.


6. Pin the rest of your scraps on & secure with stitching. I don't always cut each thread when going from each square to the next. Most definitely do a backstitch at each square's beginning & ending stitch to secure your work & then I will lift off the finished piece & move to the next.


7. After you're done sewing on each piece you'll have this lovely mess of thread. Now you can go and trim each piece and stray threads on both sides.


8. Get your binding & attach.


9. Voi-la! My favorite step is washing it, drying it & seeing how it crinkles up naturally. You'll have to trim a few frayed edges after washing & drying but it shouldn't fray much more than that. I love the frilliness the pinking sheared effect gives to the fabric after being washed!


Doll size quilts are a great scrap buster & make great gifts for little girls, but Do a larger size & you just might be able to clean out those fat quarters that have been sitting around :)

Monday, September 13, 2010

Appliqueing letters


I've had several people ask me how I apply my letters to my playmats, burpcloths & quilts (like the EatPrayLove quilt). It is rather easy & quick to do. Here's an easy tutorial- sorry for the not so great quality pictures- late in the day the lighting in my craft room isn't great.


Things you'll need:
computer/printer/paper & pen
fabric scraps (5"X5" or so)
hot iron
needle & thread or your sewing machine
wonder under or pellon fusible material
heavy duty tear away stabilizer (not necessary, but helpful)
seam ripper
scissors

1. Print off your choice of letter(s) in your font (I used Smiley Monster) at 280.

2. Turn the paper over & hold against a window & trace the letters so you have the negative.

3. Get out your wonder under, rough side down, trace the negative of the letters onto your wonder under (tracing will be on the smooth side)

4. Lay your wonder under smooth side down on your ironing board and lay your fabric (right side up) on top. Use a hot dry iron to fuse together.

5. Once cool, cut out your letter, peel off the backing & lay on your 2nd piece of fabric & iron to fuse.
<


6. Now that your pieces are fused together you can either hand stitch or machine applique the letter to stay on permanently. Lately I've been trying at my hand stitching more, which takes a LOT longer, but if there is a good movie on, it's a good excuse to do some hand stitching ;) I'm a multitasker!

7. If you are machine appliqueing the letters on, adding a piece of heavy duty tear away stabilizer really helps. I sometimes do a simple zig zag stitch, but I also use a simple straight stitch as well, like shown.


8. Stitch around your letters leaving maybe 1/8" or less around each edge. (i like it to fray a little when washed)

9. To secure your stitches (I didn't have enough light to get any close ups of this- I'll try again tomorrow) turn your fabric over & pull on your bobbin thread. A small loop will pull up (this is the top thread), using your seam ripper gently pull the top thread thru to the back. Tie your top thread & bobbin thread together in a double knot & trim the tails short. Do this for BOTH your beginning stitch & ending stitch. (and if you stopped at all in between.)
10. TA- DA! Easy peasy, right? This piece can now be added into a quilt as a block or square, or sewn onto clothing or burp cloths to personalize your piece.


PS- SAVE your printed off letters- I always label the piece of paper with the font & size so I can re-use it later when needed.


Just to show you another example of what you can do with wonder under & applique work- this was a little 'challenge' from my quilting group. They asked us to make our own name tags. Of course I waited until the night before our last meeting, but it was a quick little project. I think I might go back and put some actual binding on it with the matching teal fabric just to finish it off a little more nicely!